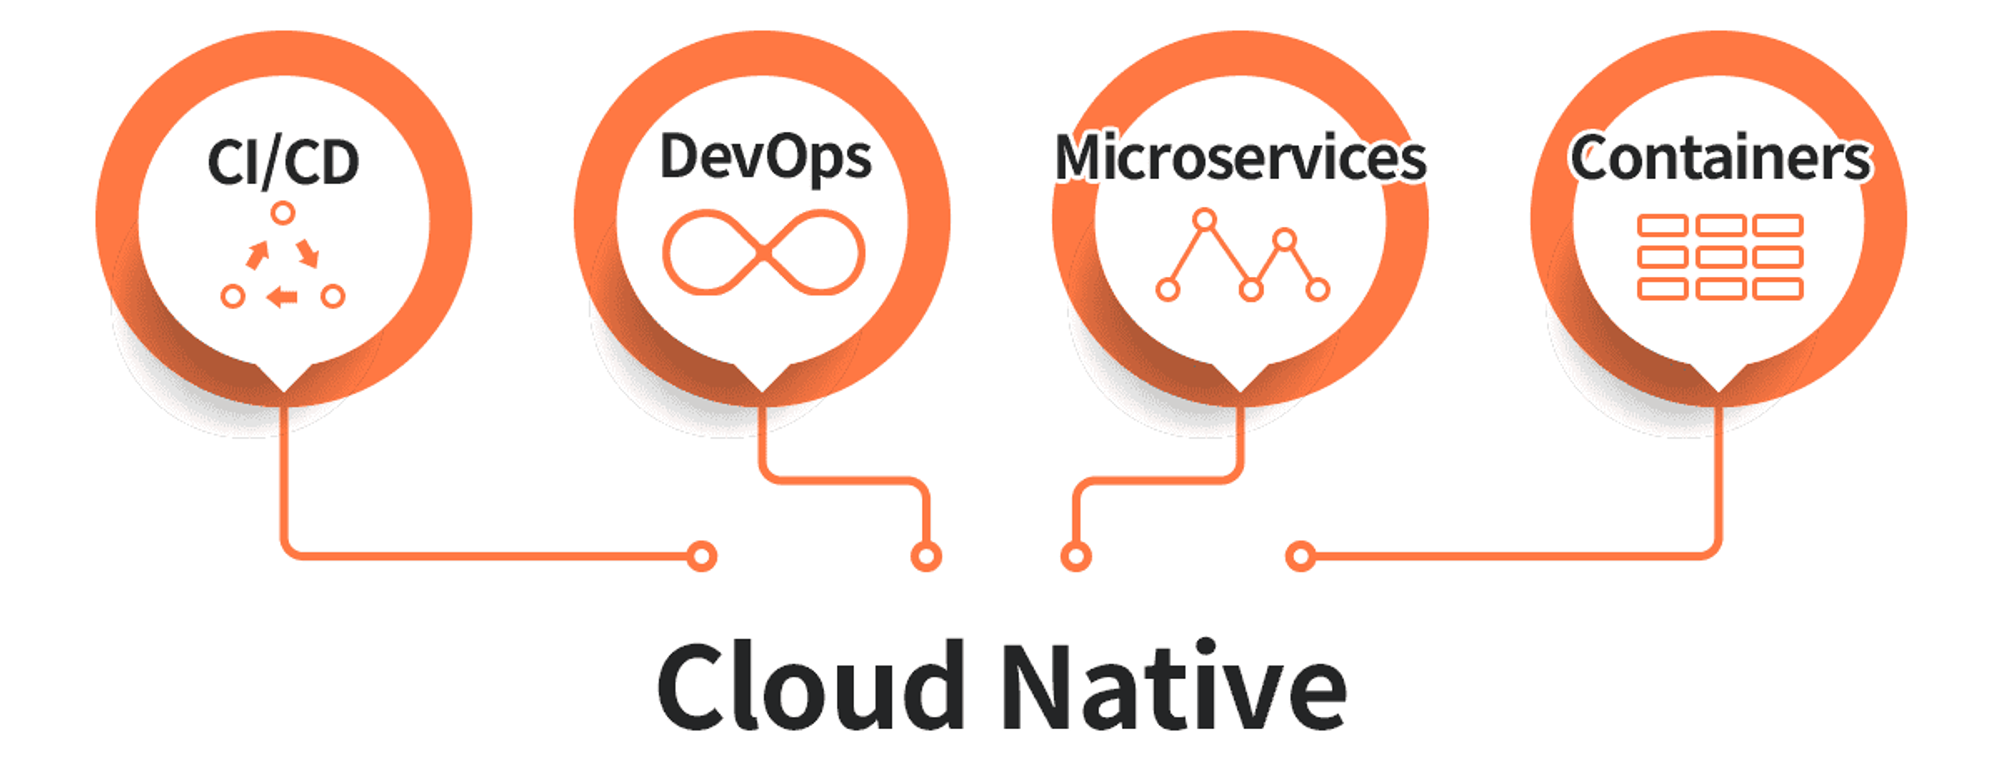
국비교육과정을 듣고 처음 클라우드 시장으로 뛰어들었을 때의 트렌드 갈래는 Private Cloud vs Public Cloud 이었다.

모두가 Virtual Machine[VM]에 솔루션을 올리고 IP 기반 라우팅으로 연계를 하는 구조였던 것 같다.

하지만 시간이 지나고 개발환경 셋팅으로 이슈화 되는 갈래는 VM vs Container 가 되었고, Service Mesh, Severless, On-Demanded 등의 서비스가 유행을 타고 그 쪽으로의 교육과정도 많이 생긴거 같다. 이에 기본적인 Native Kubernetes Cluster 배포 방법중 하나인 Kubespray[Ansible]을 활용한 설치를 진행할 것이다. 

Kubernetes

쿠버네티스는 컨테이너화된 워크로드와 서비스를 관리하기 위한 이식성이 있고, 확장가능한 오픈소스 플랫폼이다. 쿠버네티스는 선언적 구성과 자동화를 모두 용이하게 해준다. 쿠버네티스는 크고, 빠르게 성장하는 생태계를 가지고 있다. 쿠버네티스 서비스, 기술 지원 및 도구는 어디서나 쉽게 이용할 수 있다.

쿠버네티스란 명칭은 키잡이(helmsman)나 파일럿을 뜻하는 그리스어에서 유래했다. K8s라는 표기는 "K"와 "s"와 그 사이에 있는 8글자를 나타내는 약식 표기이다. 구글이 2014년에 쿠버네티스 프로젝트를 오픈소스화했다. 쿠버네티스는 프로덕션 워크로드를 대규모로 운영하는 15년 이상의 구글 경험과 커뮤니티의 최고의 아이디어와 적용 사례가 결합되어 있다.


Environment

  • Cloud : SDDC VMware [ Nested vSphere
  • OS : Ubuntu 20.04
  • Spec : 4 core / 8 G / 17GB + 50GB
  • User : altair
  • Network : Internet - Facing

※ 모든 CMD는 master01 에서 진행했습니다.

Scenario

  • Master : 3 Node
  • Worker : 3 Node

Pre-work

  • Hosts 정의
vi /etc/hosts

aaa.aaa.aaa.aaa  master01
bbb.bbb.bbb.bbb  master02
ccc.ccc.ccc.ccc  master03

ddd.ddd.ddd.ddd  worker01
fff.fff.fff.fff  worker02
eee.eee.eee.eee  worker03
  • SSH Key 생성 및 모든 노드 전달
$ ssh-keygen -t rsa

Generating public/private rsa key pair.
Enter file in which to save the key (/root/.ssh/id_rsa): 
Enter passphrase (empty for no passphrase): 
Enter same passphrase again: 
Your identification has been saved in /root/.ssh/id_rsa
Your public key has been saved in /root/.ssh/id_rsa.pub
The key fingerprint is:
SHA256:JoZJ69Gg8YwjijcX6bDwtmjFq8GynGdWEwcE0Ikmqow root@inception
The key's randomart image is:
+---[RSA 3072]----+
| .+.+.           |
|.o o .           |
|+ . o .          |
|.  B O .         |
|* * X * S        |
|E= O * o         |
|+oB * .          |
|o*oO             |
|++*              |
+----[SHA256]-----+
  • SSH Key 모든 노드 전달
$ ssh-copy-id altair@master01

/usr/bin/ssh-copy-id: INFO: Source of key(s) to be installed: "/home/altair/.ssh/id_rsa.pub"
The authenticity of host 'master01 (aaa.aaa.aaa.aaa)' can't be established.
ECDSA key fingerprint is SHA256:9Tq9Zwc2QIffrxL2Qv1QveuYULJGOmiy6xj+S9sPnY4.
Are you sure you want to continue connecting (yes/no/[fingerprint])? yes
/usr/bin/ssh-copy-id: INFO: attempting to log in with the new key(s), to filter out any that are already installed
/usr/bin/ssh-copy-id: INFO: 1 key(s) remain to be installed -- if you are prompted now it is to install the new keys
altair@master01's password: 

Number of key(s) added: 1

Now try logging into the machine, with:   "ssh 'altair@master01'"
and check to make sure that only the key(s) you wanted were added.


Kubespray

  • Ansible 스크립트 소스 받아오기
$ git clone https://github.com/kubernetes-sigs/kubespray.git

# DIR is Your kubespray Path
$ cd $DIR/kubespray
  • vi 1. package_install.sh
#!/bin/bash

sudo apt-get update -y
sudo apt-get install -y build-essential python3-pip
pip3 install -r requirements.txt
  • vi kubespray_setting.sh
#!/bin/bash
  
cp -r inventory/sample inventory/mycluster

master01=aaa.aaa.aaa.aaa
master02=bbb.bbb.bbb.bbb
master03=ccc.ccc.ccc.ccc

worker01=ddd.ddd.ddd.ddd
worker02=eee.eee.eee.eee
worker03=fff.fff.fff.fff

declare -a IPS=(${master01} ${master02} ${master03} ${worker01} ${worker02} ${worker03})
CONFIG_FILE=inventory/mycluster/hosts.yaml python3 contrib/inventory_builder/inventory.py ${IPS[@]}

# cat inventory/mycluster/hosts.yaml
# Role에 대한 Hosts파일 정의 확인 필수
  • vi kubespray_install.sh
#!/bin/bash
  
username=altair
password=******

ansible-playbook -i inventory/mycluster/hosts.yaml \
  --user=$username --extra-vars "ansible_sudo_pass=$password" \
  --become --become-user=root cluster.yml
# altair 계정 진행시 sudo 이슈로 인한 set 추가


mkdir -p $HOME/.kube
sudo cp /etc/kubernetes/admin.conf $HOME/.kube/config
sudo chown $(id -u):$(id -g) $HOME/.kube/config

클러스터 생성 '전' 수정 사항

  • Container Runtime
vi inventory/mycluster/group_vars/k8s_cluster/k8s-cluster.yml

...
## Container runtime
## docker for docker, crio for cri-o and containerd for containerd.
container_manager: containerd
...
  • Helm
vi inventory/mycluster/group_vars/k8s_cluster/addons.yml

...
# Helm deployment
helm_enabled: true
...

Install

sh 1.package_install.sh 
sh 2.kubespray_setting.sh
sh 3.kubespray_install.sh

Uninstall

$ vi 4.remove_kubespray.sh
username=altair
password=******

ansible-playbook -i inventory/mycluster/hosts.yaml \
  --user=$username --extra-vars "ansible_sudo_pass=$password" \
  --become --become-user=root reset.yml


질문 환영합니다

감사합니다

'Kubernetes' 카테고리의 다른 글

[Kubernetes] Docker-Compose를 활용한 Harbor 구축 및 연계  (0) 2022.11.04

# 필요이유

  • DR[Disaster Ricovery] 가 대두 되는 만큼 App이 프로비저닝 되는 게이트웨이를 이중화.
  • VM IP가 Static일 경우 [DNS가능] HAproxy가 아니어도 이중화가 가능하다.
  • Platform에도 CF 기반의 경우 HAproxy, Gorouter, TCP-router Kubernetes 기반의 경우 Ingress 가 플랫폼 내부 통신으로 사용 되는 경우가 많은데, 업그레이드 및 유지보수를 위해 내부 통신을 위한 Platform 서비스는 따로 두고, 외부 서비스를 위한 게이트웨이를 따로 만드는게 바람직하다고 생각한다. [ 외부 세션 유지시에 업그레이드 이슈 발생 가능 ]

# Pre-Work

  • 원하는 버전의 패키지 설치

# Environment

  • Cloud : VMware vSphere
  • OS : Ubuntu 20.04
  • Spec : 4 core / 8 G / 17GB +20GB
  • User : Root
  • Network : Internet - Facing / Internal

Scenario

  • Proxy 는 내/외부를 연계하는 역할
  • Proxy 의 Active/Standby 이중화


Proxy 선택 [SSL은 다루지 않습니다.]

1. HAproxy Conf

# HAproxy 의 A레코드가 *.example.com
# DNS로 들어오는 트래픽 라우팅
# 원래 Jenkins를 Reverse Proxy에 태울경우 L7 파라미터를 정의 해주어야하지만, 편의상 진행

...
###############################################

frontend jenkins_ui
    mode  http
    option httplog
    bind :80
    acl is_JENKINS hdr(host) -i jenkins.example.com
    use_backend jenkins if is_JENKINS

backend jenkins
    mode    http
    acl valid_method method GET POST PUT DELETE
    http-request deny if ! valid_method
    server jeknins 172.30.111.52:8080  check

################################################
...

2. Nginx Conf

# Nginx의 A레코드가 jenkins.example.com 으로 되어 있어야한다.

http {
...
    # ------------------------ Revers Proxy ------------------------
    # Proxy 흐름
    upstream 172.30.111.52:8080 {
      server 172.30.111.52:8080; # ENDPOINT WEB/APP SERVER
    }
    # Proxy url 정책
    server {
      listen 80;
      location / {  # domain/ 로 호출시 아래로 redirect
        proxy_pass http://CMS_VM_IP:PORT; # ENDPOINT WEB/APP SERVER
        proxy_http_version 1.1;
      }
    }
    # ------------------------ Revers Proxy ------------------------
...
}

대쉬보드 접속으로 Proxy 점검 가능하다.


Keepalived Conf

  • 네트워크 인터페이스 A,B가 있다 , A는 외부망 B는 내부망을 가지고 있다고 할때 Health Check를 B 인터페이스로 하고 VIP를 A 인터페이스로 할당하는 것이 가능하다.
  • A 인터페이스에 외부망 IP가 할당되지 않았을 때, B 인터페이스로 Health Check를 하고 VIP를 A 인터페이스에 할당하는 것이 가능하다. [ 공인 아이피의 절약 가능 ]


# vi /etc/keepalived/keepalived.conf
# Master

global_defs {
    router_id NAT01
}
 
vrrp_script chk_haproxy {
    script "/usr/bin/kill -0 haproxy"
    interval 2
    weight 2
}
 
vrrp_instance VIS_1 {
    # 요청을 받아들이는 인터페이스
    interface           ens224
    # MASTER 또는 BACKUP
    state               MASTER
        # 우선순위 값 (MASTER>BACKUP)
    priority            101
    # 가상 라우터 id (같은 인스턴스 그룹일 경우 동일하게 지정)
    virtual_router_id   51
    # vrrp 패킷 송신 간격
    advert_int          1
    # vrrp 통신에 사용할 MASTER의 인터페이스 ip
    vrrp_unicast_bind 172.0.0.139
    # vrrp 통신에 사용할 BACKUP의 인터페이스 ip
    vrrp_unicast_peer 172.0.0.140
    # MASTER ip
    unicast_src_ip 172.0.0.139
    # BACKUP ip
    unicast_peer {
        172.0.0.140
    }
    # 인증 (MASTER와 BACKUP의 패스워드 동일)
    authentication {
        auth_type PASS
        auth_pass 1111
    }
    # vip
    virtual_ipaddress {
        172.0.0.141/16
    }
    track_script {
        chk_haproxy
    }
}
 
vrrp_instance VIS_2 {
    interface           ens224
    state               MASTER
    priority            101
    virtual_router_id   52
    advert_int          1
    vrrp_unicast_bind 172.0.0.139
    vrrp_unicast_peer 172.0.0.140
    unicast_src_ip 172.0.0.139
    unicast_peer {
        172.0.0.140
    }
    authentication {
        auth_type PASS
        auth_pass 1111
    }
    virtual_ipaddress {
        10.0.201.136/24 dev ens192
    }
    # gateway 경로 추가
    virtual_routes {
        default via 10.0.201.1
    }
    track_script {
        chk_haproxy
    }
}
# vi /etc/keepalived/keepalived.conf
# Backup
 
global_defs {
    router_id NAT02
}
 
vrrp_script chk_haproxy {
    script "/usr/bin/kill -0 haproxy"
    interval 2
    weight 2
}
 
vrrp_instance VIS_1 {
    interface           ens224
    state               BACKUP
    priority            100
    virtual_router_id   51
    advert_int          1
    # vrrp 통신에 사용할 BACKUP의 인터페이스 ip
    vrrp_unicast_bind 172.0.0.140
    # vrrp 통신에 사용할 MASTER의 인터페이스 ip
    vrrp_unicast_peer 172.0.0.139
    # BACKUP ip
    unicast_src_ip 172.0.0.140
    # MASTER ip
    unicast_peer {
        172.0.0.139
    }
    authentication {
        auth_type PASS
        auth_pass 1111
    }
    virtual_ipaddress {
        172.0.0.141/16
    }
    track_script {
        chk_haproxy
    }
}
 
vrrp_instance VIS_2 {
    interface           ens224
    state               BACKUP
    priority            100
    virtual_router_id   52
    advert_int          1
    vrrp_unicast_bind 172.0.0.140
    vrrp_unicast_peer 172.0.0.139
    unicast_src_ip 172.0.0.140
    unicast_peer {
        172.0.0.139
    }
    authentication {
        auth_type PASS
        auth_pass 1111
    }
    virtual_ipaddress {
        10.0.201.136/24 dev ens192
    }
    virtual_routes {
        default via 10.0.201.1
    }
    track_script {
        chk_haproxy
    }
}

각 서비스 재시작 후 트래픽 및 라우팅 확인

# Private Registry

Container 환경에서 개발 아티팩트[*.war, *.jar]를 Delivery 할 시에 Dockerfile로 이미지 빌드 후 레지스트리에 업로드 다운로드를 반복 해야하는데, 그 과정에서 이미지를 저장 및 다운로드 할 수 있는 공간이다. 


# Why Docker-Compose ?

Airgap[Private] 환경 구축시 Docker Registry의 구성은 필수가 된다. 하지만 Kubernetes Pod 리소스로 배포를 하려면 그 이전에 Kubernetes 부터 이미지를 가져올 공간이 필요한데, 그래서 따로 Instance를 만들어 하나의 VM에 구축하였다.

# 필요이유

  • 네트환경이 외부에 접근하지 못하는 환경에서 Docker image를 배포해야하는 상황이다.
  • 특정 내부 개발한 아티팩트를 반영해야 하는 패키지를 Dockfile을 추가하여 배포하는 상황이다.
  • 이미지를 저장 및 다운로드할 수 있는 공간이 필요한 상황이다.

# Environment

  • Cloud : AWS EC2
  • OS : Amazone Linux
  • Spec : c5.large / 50GB
  • User : Root
  • Network : Internet - Facing
  • Package & CLI : Docker , docker-compose

Pre-Work

SSL 인증서 생성 스크립트

vi Start-ssl.sh

# Certificate
Country=KR
State=Seoul
Locality=Seoul
Organization='MEGAZONE CLOUD'
OU='VMware Ins'
# Domain
CommonName= 도메인 'ㅁ'
Port=443
# Update-ca PATH
DIR=/data/certs.d
OS=Ubuntu # Ubuntu , CentOS

# Start

mkdir -p ${DIR}
cd ${DIR}

# Root CA
openssl genrsa -out ca.key 4096

openssl req -x509 -new -nodes -sha512 -days 3650 -subj \
        "/C=${Country}/ST=${State}/L=${Locality}/O=${Organization}/OU=${OU}/CN=${CommonName}" \
        -key ${DIR}/ca.key -out ${DIR}/ca.crt


# Server Cert
openssl genrsa -out ${DIR}/${CommonName}.key 4096

openssl req -sha512 -new -subj \
        "/C=${Country}/ST=${State}/L=${Locality}/O=${Organization}/OU=${OU}/CN=${CommonName}" \
        -key ${DIR}/${CommonName}.key -out ${DIR}/${CommonName}.csr

cat << EOF > ${DIR}/v3.ext
authorityKeyIdentifier=keyid,issuer
basicConstraints=CA:FALSE
keyUsage = digitalSignature, nonRepudiation, keyEncipherment, dataEncipherment
extendedKeyUsage = serverAuth
subjectAltName = @alt_names

[alt_names]
DNS.1=${CommonName}
DNS.2=${CommonName}:${Port}
DNS.3=harbor
EOF

openssl x509 -req -sha512 -days 3650 -extfile ${DIR}/v3.ext -CA ${DIR}/ca.crt -CAkey ${DIR}/ca.key -CAcreateserial -in ${DIR}/${CommonName}.csr -out ${DIR}/${CommonName}.crt


# For Docker
openssl x509 -inform PEM -in ${DIR}/${CommonName}.crt -out ${DIR}/${CommonName}.cert


# Harbor
mkdir -p /etc/docker/certs.d/${CommonName}:${Port}
sudo cp ${DIR}/${CommonName}.cert /etc/docker/certs.d/${CommonName}:${Port}/
sudo cp ${DIR}/${CommonName}.key /etc/docker/certs.d/${CommonName}:${Port}/
sudo cp ${DIR}/ca.crt /etc/docker/certs.d/${CommonName}:${Port}/

# Host
#if [ ${OS} -eq Ubuntu ]; then
#	sudo cp ${DIR}/${CommonName}.crt /usr/local/share/ca-certificates/
#	sudo cp ${DIR}/ca.crt /usr/local/share/ca-certificates/Harbor_CA.crt
#	sudo update-ca-certificates
#else
#	sudo cp ${DIR}/${CommonName}.crt /etc/pki/ca-trust/source/anchors/
#	sudo cp ${DIR}/ca.crt /etc/pki/ca-trust/source/anchors/Harbor_CA.crt
#	sudo update-ca-trust

SSL 인증서 적용

# host VM에 인증서 생성
chmod +x start-ssl.sh
sh start-ssl.sh

# Ubuntu
sudo cp ${DIR}/${CommonName}.crt /usr/local/share/ca-certificates/
sudo cp ${DIR}/ca.crt /usr/local/share/ca-certificates/Harbor_CA.crt
sudo update-ca-certificates

# CentOS & Amazon Linux
sudo cp ${DIR}/${CommonName}.crt /etc/pki/ca-trust/source/anchors/
sudo cp ${DIR}/ca.crt /etc/pki/ca-trust/source/anchors/Harbor_CA.crt
sudo update-ca-trust

# Docker Core 인증서 적용
systemctl restart docker

# 경로는 위의 스크립트에서 확인 가능

Harbor 설치

# Harbor Offline v2.6.1
wget https://github.com/goharbor/harbor/releases/download/v2.6.1/harbor-offline-installer-v2.6.1.tgz
tar -xvf harbor-offline-installer-v2.6.1.tgz
cd harbor
chmod +x *.sh
cp harbor.yml.tmpl harbor.yml

# SSL 인증서 생성시 도메인
sed -i 's/reg.mydomain.com/하버 도메인쓰세용/g' harbor.yml
# SSL 인증서 도메인.cert 경로
sed -i 's/\/your\/certificate\/path/SSL cert 경로/g' harbor.yml
# SSL 인등서 도메인.key 경로
sed -i 's/\/your\/private\/key\/path/SSL key 경로/g' harbor.yml
# Harbor admin 비밀번호
sed -i 's/Harbor12345/******/g' harbor.yml

### 확인
cat harbor.yml
...
hostname: reg.mydomain.com
...
# https related config
https:
  # https port for harbor, default is 443
  port: 443
  # The path of cert and key files for nginx
  certificate: /your/certificate/path
  private_key: /your/private/key/path
...
# The initial password of Harbor admin
# It only works in first time to install harbor
# Remember Change the admin password from UI after launching Harbor.
harbor_admin_password: Harbor12345
...
###

sh install.sh

접속확인


# 모든 노드에서 ca.crt 파일로 업데이트를 해야 이미지 pull,push 가능

'Kubernetes' 카테고리의 다른 글

[Kubernetes] Ansible을 활용한 Kubernetes Cluster 구축  (0) 2023.03.29

+ Recent posts